FAQ
Frequently Asked Questions about ClickClass™...
-
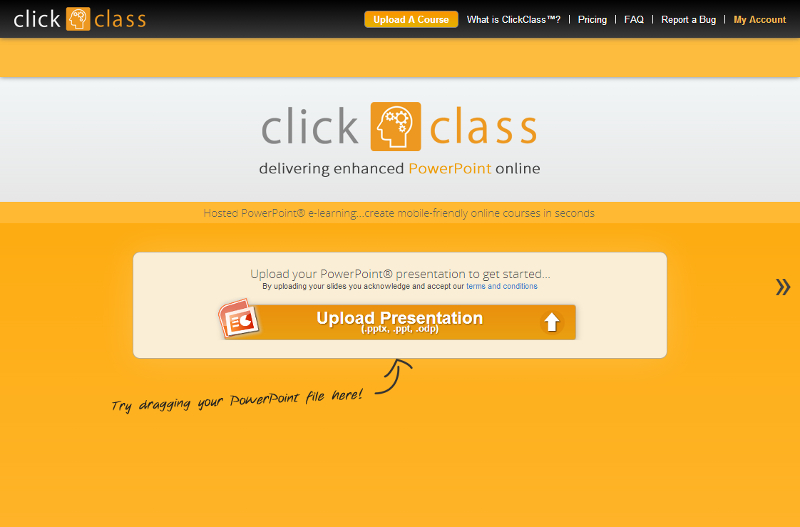
Upload Presentation
Simply go to the homepage and click on 'Upload Presentation'. If your browser supports it, you can drag and drop your file too!
-
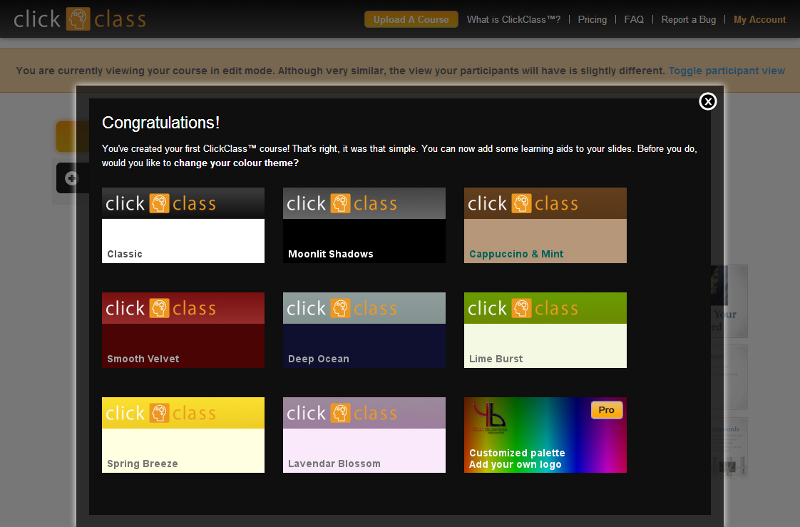
Choose Colour Theme
Select your desired colour theme.
-
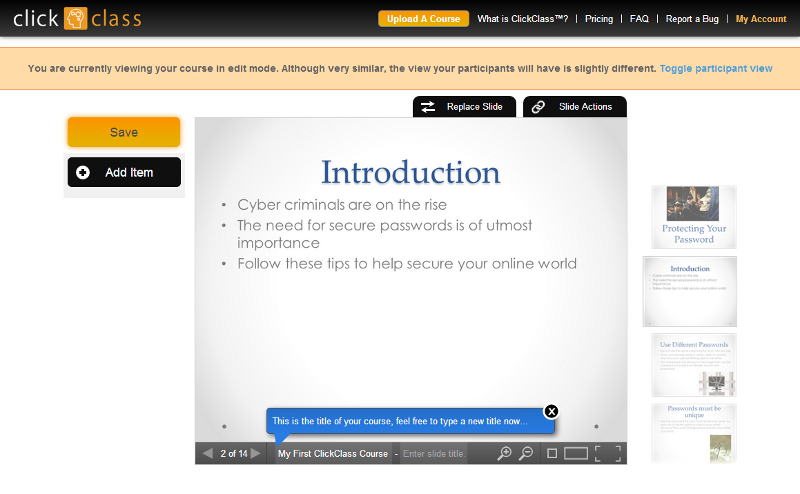
Add Interactive Features
Follow the instructions to create your course and add interactive features.
-
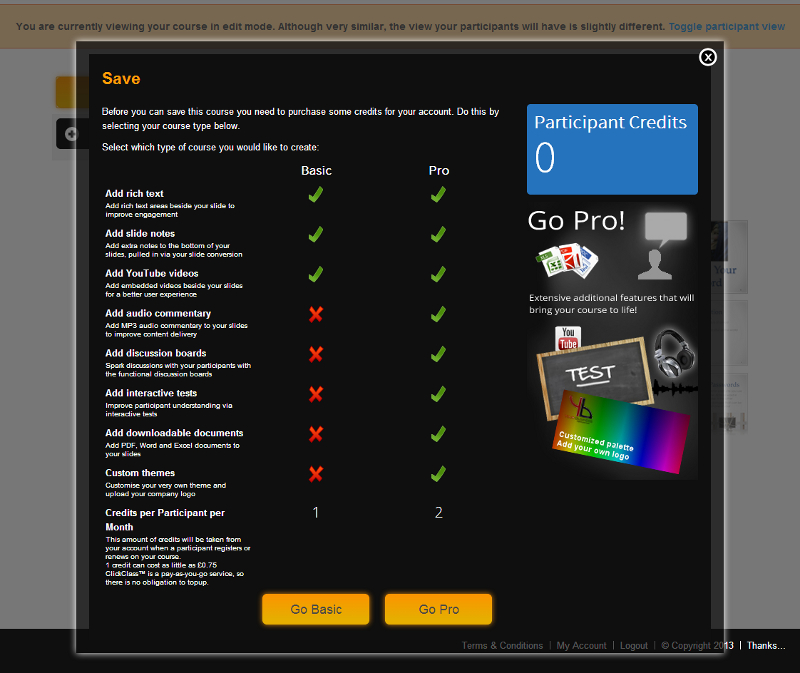
Click the Save Button
Click the orange Save button and select the package you require. For more information on the packages available and pricing, go to the pricing page.
-
Fill in Your Account Details
Choose how much you would like to initally topup by (for better savings, use the higher amounts). Fill in your details and press save. For easy administration, tick the box that allows your participants to automatically enol. At this point you will then be taken to PayPal.

-
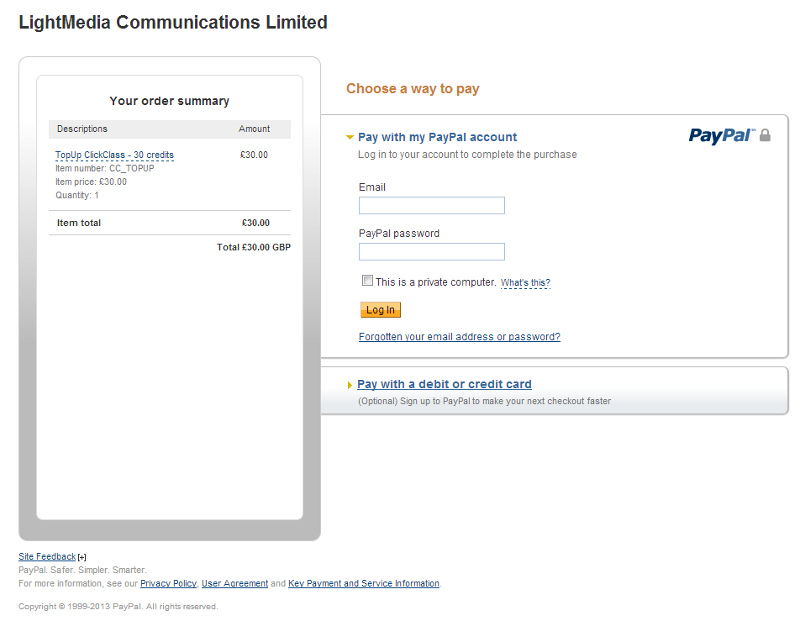
Pay using PayPal's Secure Server
Pay your first topup fee using PayPal. You don't need a PayPal account to do this, as you can pay by credit or debit card.
-
Get your course link
After paying by PayPal, or by clicking the 'Save' button, you will be redirected back to your course and you will see a message saying your course has been saved. You are also given a link which you will use to send to your participants to let them access your course.

-
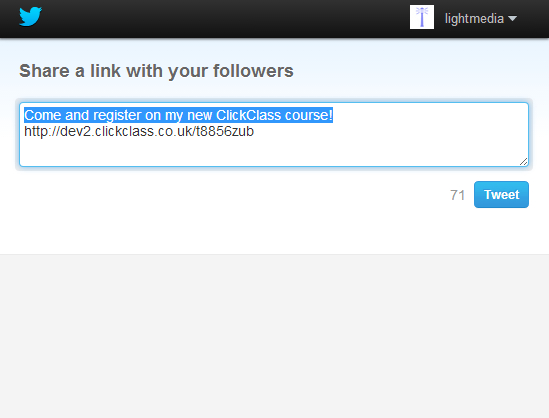
Share your course link with your participants
You are now able to share your course link with as many people as you like. Use the social media buttons and the email button to send the course to your participants and begin getting registrations. If you have selected the auto-enrol option, your participants can join the course with minimum fuss.
-
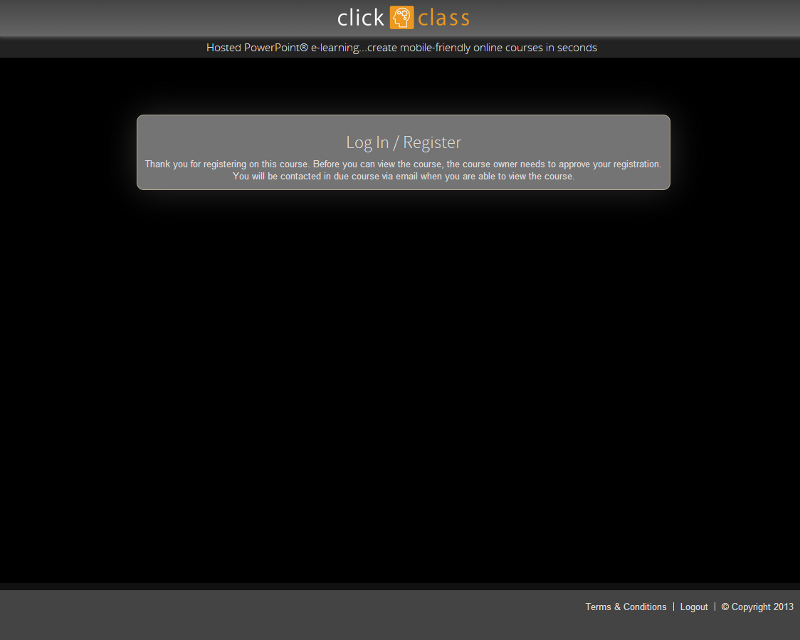
Your participants register
By following your link, your participants will be asked to register for a ClickClass account or login to an exisiting one. If you have selected the auto-enrol option, your participant is granted instant access to the course. If not, they will be given the message shown in the screenshot below and will need your approval before gaining access.
-
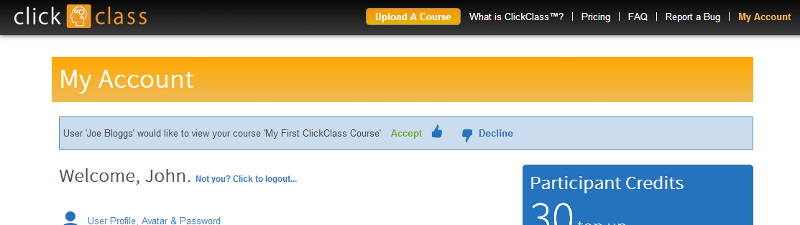
You approve your participants
When a participant registers on your course and you have not selected the auto-enrol option, you will be sent an email and a message will appear in your account homepage. Click 'Allow' to grant the participant access. Once approved, the participant will receive a message to say that they can access the course.
-
The relevant credits are deducted
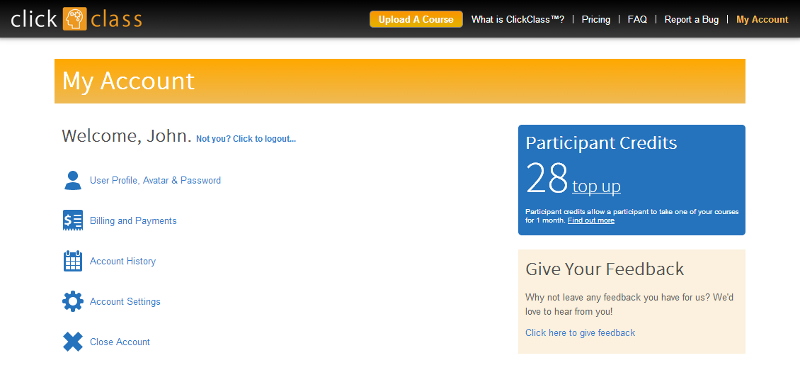
Once a participant registers on the course, either automatically or manually, the credits will be taken from your account. The number taken depends whether the course is a Basic or a Pro course. You can see the amount of credits left in your account by the number in the blue box. You will be notified if this amount becomes low and you need to topup your account again. We will never automatically topup your account.
Participant credits allow a participant to take one of your courses for 1 month. You can topup your account with as many credits as you like, so that when participants ask to join your courses you have a store of credits to take from.
Course owners can either allow their courses to let people sign up atuomatically, which will deduct the credits for them, or they can choose to manually approve each participant.
Depending on the type of course you have created, different amounts of credits will be deducted for each participant on a course. For example, a Basic course costs 1 credit per participant per month. You can see a full summary of these costs when you first create your course.
Credits expire 12 months after the last topup date.
You will be notified by email if your credits approach zero so that you can top up to avoid frustrated participants.
Click here for more information on credits and pricing
When you have saved your course you are able to share it with your participants. Click on the 'Share' button to send your course link out to the people you have in mind using the social media links or email button.
With the power of social media, you could allow participants to enrol automatically (you can change this setting in the course settings page in your My Account section), meaning when people stumble across your course link on Twitter or Facebook, there is no delay for them to register straight away and start learning immediately.
Unfortunately not. Once you have set up your course and chosen the course type you cannot change it. You will need to upload your course again and select the type of course you need.
Click on the (Manage) link next to the number of participants listed against your course in the My Account section.
Here you will be able to remove participants from the course, and also change whether their membership should renew itself automatically each month or whether they need your approval to renew.
ClickClass™ is compatible with a wide range of devices and browsers. For participants, you can use pretty much any device, including desktops, tablets and mobiles.
As a content editor, you may need to use a desktop browser to upload your slides as some devices, such as Apple's iOS devices, do not allow file uploads.
Some interactive features such as the drag and drop questions may not work as expected on touch screen devices as they are designed for mouse input. If you are targeting participants on tablets and mobiles, try to avoid these features.
No. Unfortunately, due to the way ClickClass™ works and other limitations, your courses are not SCORM compliant. ClickClass™ is an e-learning authoring tool and LMS all in one, so this should not be a problem.
If you are looking for SCORM compliant courses, this is an area we specialise in and we can offer bespoke courses outside of ClickClass™ to suit your needs. Please contact us using the form below if you would like to discuss this further.
Make sure nobody else is logged into your same account elsewhere, as you can't login from 2 places at once.
If you still can't login, click on the forgotten password link and follow the instructions to reset your password.
If after these steps you still can't log in, fill in the form below with your email and username and the fact that you are unable to login.
You have saved your course as a Basic course. This means the Pro features will no longer be available.
If you need to use the Pro features, you will need to start again and this time save your course as a Pro course.
Click on the Course Settings link next to the course in the My Account section. Find the slide the test is on and click 'See Results'.
You can then sort the results and see the average score.
Click on the Course Settings link next to the course in the My Account section. Click on 'Logos, Colours and Theming', select your theme and click save.
If your course is a Pro course, you also have the option to create a custom theme, upload a logo or even import a theme from one of your other courses.
Sorry, but to keep our systems clean and smoothly running we remove any unsaved courses after ~24 hours. There is no way to get your deleted courses back.
To avoid this in the future, make sure you save your course within 24 hours.
Unfortunately we cannot help you with receiving certificates or accreditation for your course as ClickClass™ is the platform that is used to deliver courses and is not responsible for managing the individual courses created on the platform.
We advise instead contacting your course provider to receive confirmation that you have completed the course.
Has your question still not been answered?
If none of the above FAQs answer your question, please leave your details and your question.
Important: If you are completing, or attempting to complete, a course given to you by someone, then you must contact them directly with any issues. This form is solely for ClickClass™ primary account holders, or people looking to buy a subscription, and not people taking courses.